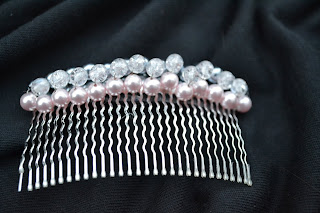
The making of paper beads dates back to Victorian times. The women of the house would use wallpaper scraps and roll them around knitting needles to create beads. They would then string them on yarn to create paper bead curtains. Today paper beads are used to make purses, jewelry, greeting cards and wall art to name a few. The bead shapes, sizes and colors are endless when creating paper beads, making them a great addition to one of a kind designs. Jewelry pieces made from paper beads are light weight and quite durable making them comfortable to wear for most people. Paper beads are water resistant if sealed properly. The shapes and color possibilities of paper beads are endless making them a great addition to one of a kind designs.
A lot of people has shown interest in the making of paper beads. Here is a step-by-step instruction guide stinkysocks style:
1. Cut 4 inch by 1 inch (100mm by 20mm) triangles out of magazines or colored paper.
2.Apply a bit of glue to the pointy end of the triangle. A glue stick or a tiny bit of liquid glue will do.at you like.
3. Starting at the wide end use a dowel or other slender cylinder such as a skewer or a pen refill) to roll the triangle into a cylindrical bead shape. You can make the spiral symmetric with the middle if you try or let it tend to one side.
4. Make sure the narrow end sticks firmly and the bead stays rolled up. Apply another dot of glue if needed.
5.Slide the bead off the end of the dowel.
6. Brush your beads with a solution of one part clear, white glue to two or three parts water. Marvin Medium or ModPodge also works well. This step is optional, but it will make your beads last a bit longer and help to smooth out the surface a bit. Let them dry thoroughly, making sure they don't stick to anything while they dry. Try hanging them on a string to dry.
For more of my paper bead jewelry. Visit my etsy shop http://stinkysocks.etsy.com and narrow down on my paper bead jewelry collection. Or click here: http://www.etsy.com/shop/stinkysocks?section_id=10136032
Thanks! till next blog!


